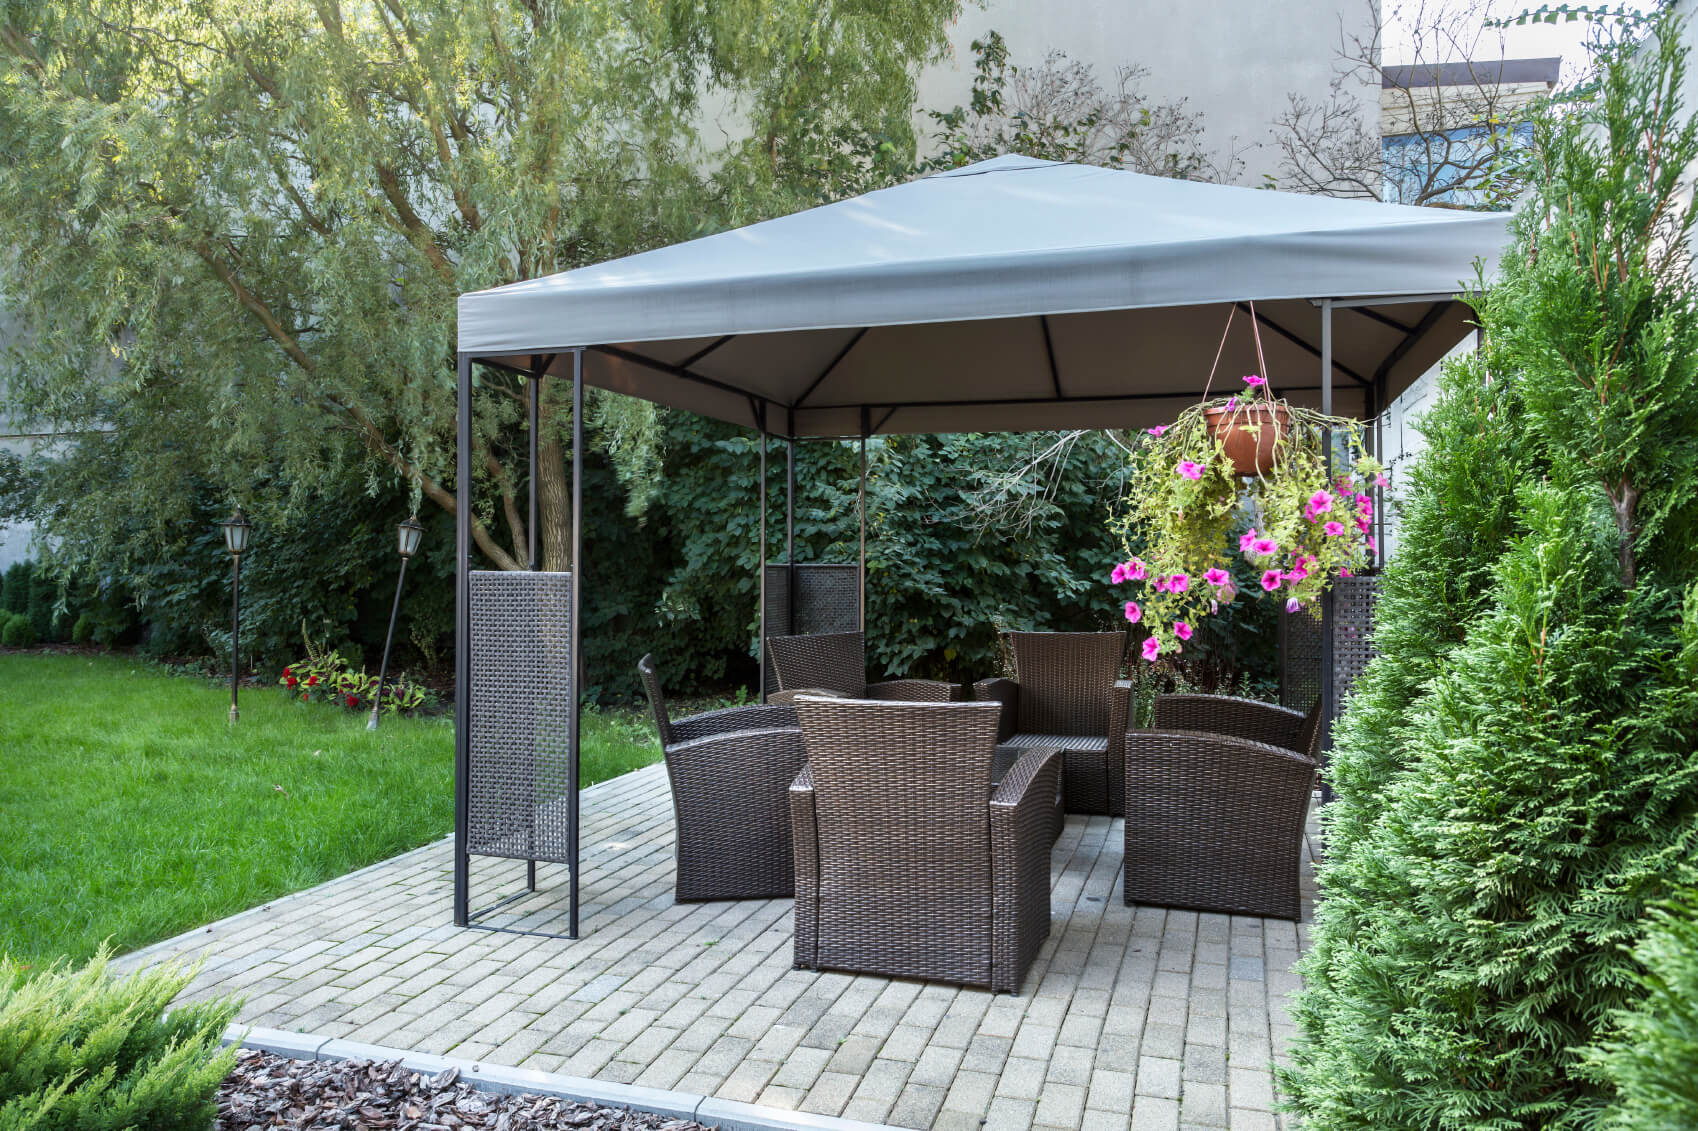
For many people, spending time outside in the yard is a way to stay in touch with nature. Being in the fresh air, surrounded by natural greenery, brings peace and relaxation. And if you add a good company, food, and comfortable sitting to that, you have all you need for quality time spent outdoors.
All that would be wonderful if the weather conditions didn’t interfere. Let’s face it – the sun, wind, and rain can destroy any gathering. But there is a solution – garden gazebos Dublin will protect you and enable a pleasant stay outside.
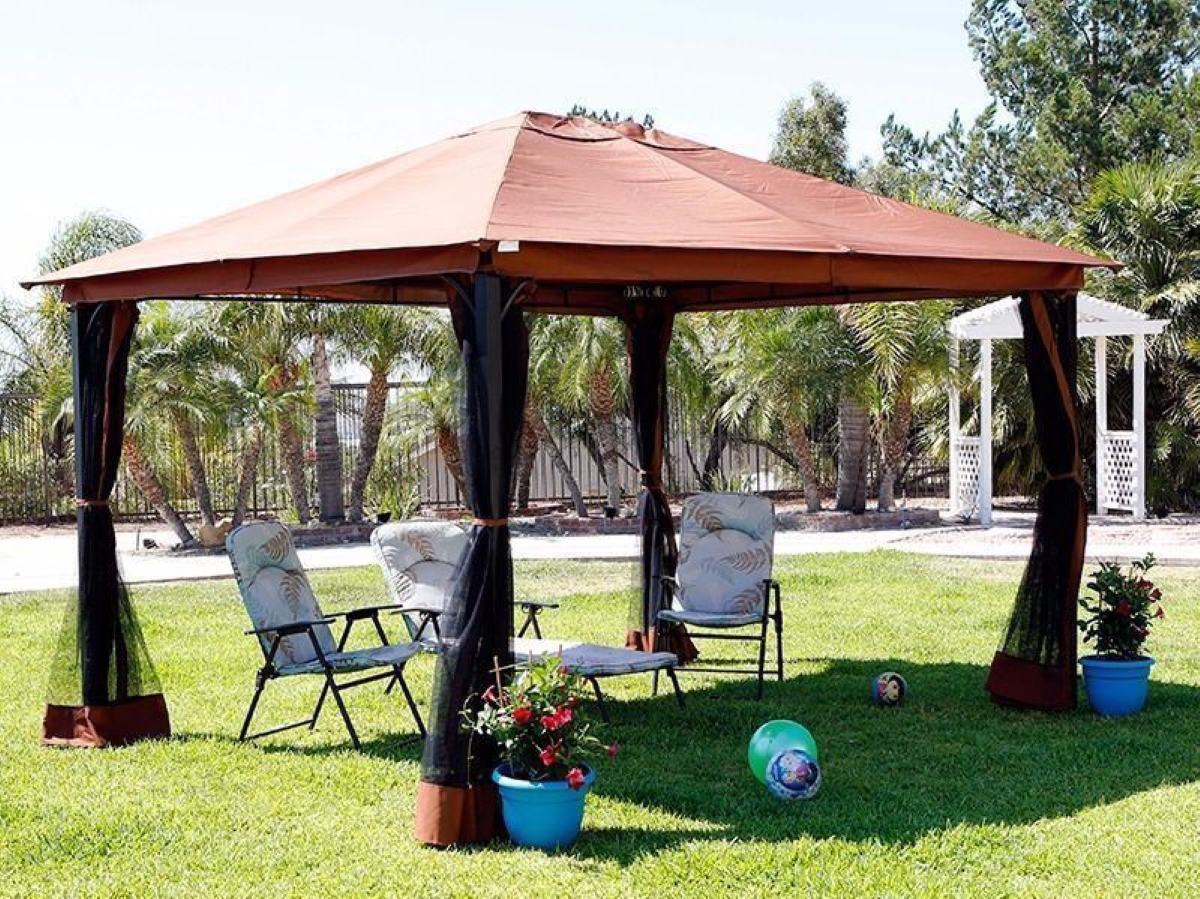
These handy yard add-ons are fantastic for cookouts and hanging around with friends. You can also use them for yard parties, corporate events, and all kinds of outdoor gatherings. Gazebos are easy to erect, but make sure to have an extra pair of hands.
Check Your Supplies
Before you start anything, unpack your gazebo and check all the pieces and supplies that come with it. Read the instruction and go through all assembly steps. Double-check to see if anything is missing. You could sort out all the pieces by steps where they will be used. That will speed things up. If anything is missing, contact the store or manufacturer.
Level the Ground
If you’re going to have a gazebo in a fenced yard, then it’s important to erect it on a flat, even surface. Dig a hole about five inches deep for poles and level the ground. Make sure the soil is not too rocky or stony, making the construction unstable. If it’s impossible to even the ground, try adjusting the leg height.
If you don’t have a solid foundation, you can use brick pavers, concrete footings, or simply holes where you will place its legs. Once you have the location selected, you’ll need to mark where the poles will go. Use stakes for that.
Check the following website for some creative ideas for your garden gazebo:
https://www.moving.com/tips/7-creative-gazebo-ideas-for-your-backyard/Prepare the Canopy
You have two options for the canopy – to get a gazebo with a pre-installed top or the one you have to put in place all alone. If you bought the first one, just leave it on the side until installing the legs. But if you have to assembly both the frame and the canopy, you’ll need help.
First, you have to unfold the top and lay it on the ground. When exposed to the sun, it will become more flexible and pliable so you can install it easily. Let someone help you place and stretch the canopy on the assembled frame. Tighten it with Velcro and bolts. Make sure all sides are equal so that the top equally covers the entire gazebo.
Install the Legs
Gazebos are portable, but you must secure them somehow. Sure, you will anchor them after assembling. But you can dig poles in the ground to make the entire construction more stable and wind-proof.
A strong foundation is crucial when erecting a gazebo. Installing a canopy before erecting the construction will make it more stable and easier to handle. As legs usually come in two segments, start with those that need to be attached to the canopy and frame. When you’re done, lift each leg (you might need help) and install the bottom part. Make sure they fit snuggly.
Anchoring
The last part of gazebo erecting is anchoring. You’ll need to do that to secure the construction and prevent damage. There are several methods to do that, depending on where your gazebo is placed and how heavy it is. More on the types of these constructions see here.
The best thing you can do is secure the gazebo’s legs with stakes. Insert them through the openings on the bottom of each leg. Then, hammer them to the ground. But that’s usually not enough, especially if your gazebo is on the lawn or sand.
Consider extra anchoring with ropes, sandbags or steel stacking. These should be connected with the upper part of the frame and placed on all four sides. The construction is under pressure from all sides, so it won’t overturn or lift due to wind. Gazebos are not permanent outdoor buildings, so you should remove them before rain, wind, and storm damage or ruin them. Disassembly is easier than assembly, but each next installation will be a piece of cake if you mark the parts on time.